Today I am sharing a dining table re-do project we did years ago as a family.
We only have room in our house for 1 table. It’s used for everything. Meals. Crafts. Homework. Fix-it projects. Playdough.
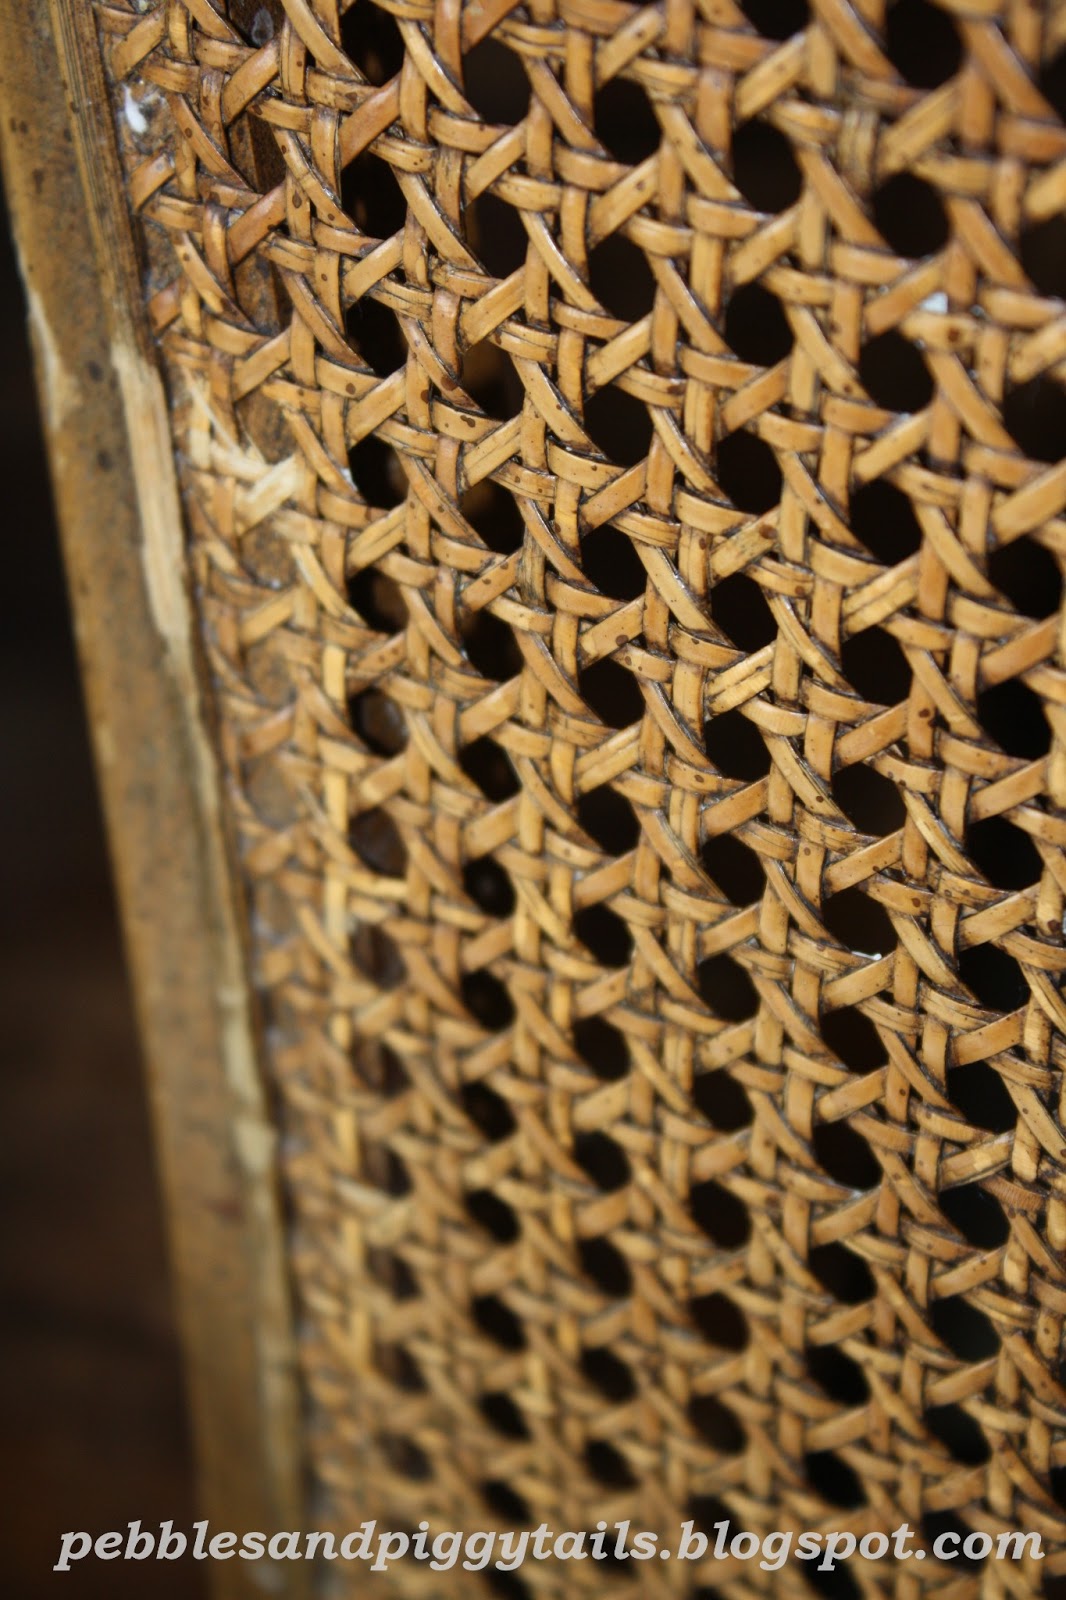
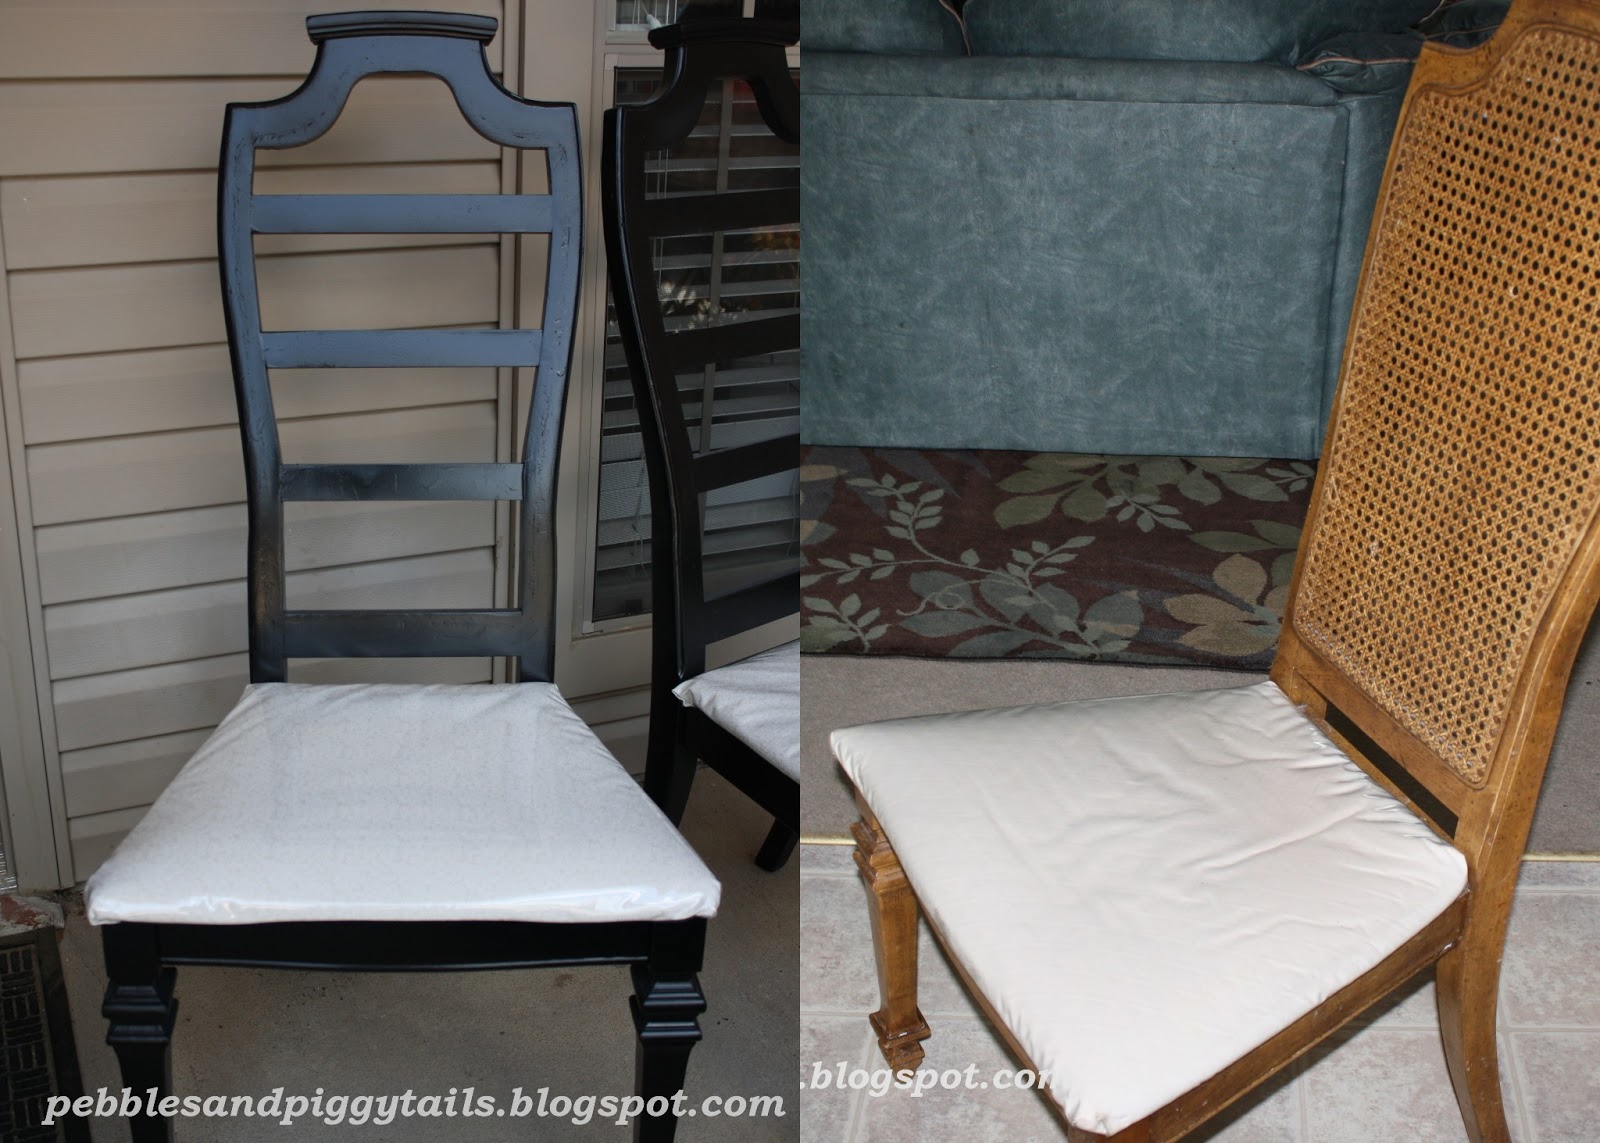
Our table and chairs were in serious need of updating. I had already recovered the chairs once about 5 years ago. But it was looking sad anyway. Not wanting to spend a lot of mullah on a new table that would still have to be used for playdough and stuff, we decided to revamp the whole thing ourselves. My friend Jessica suggested changing out the backing. So we got creative. Here’s how:

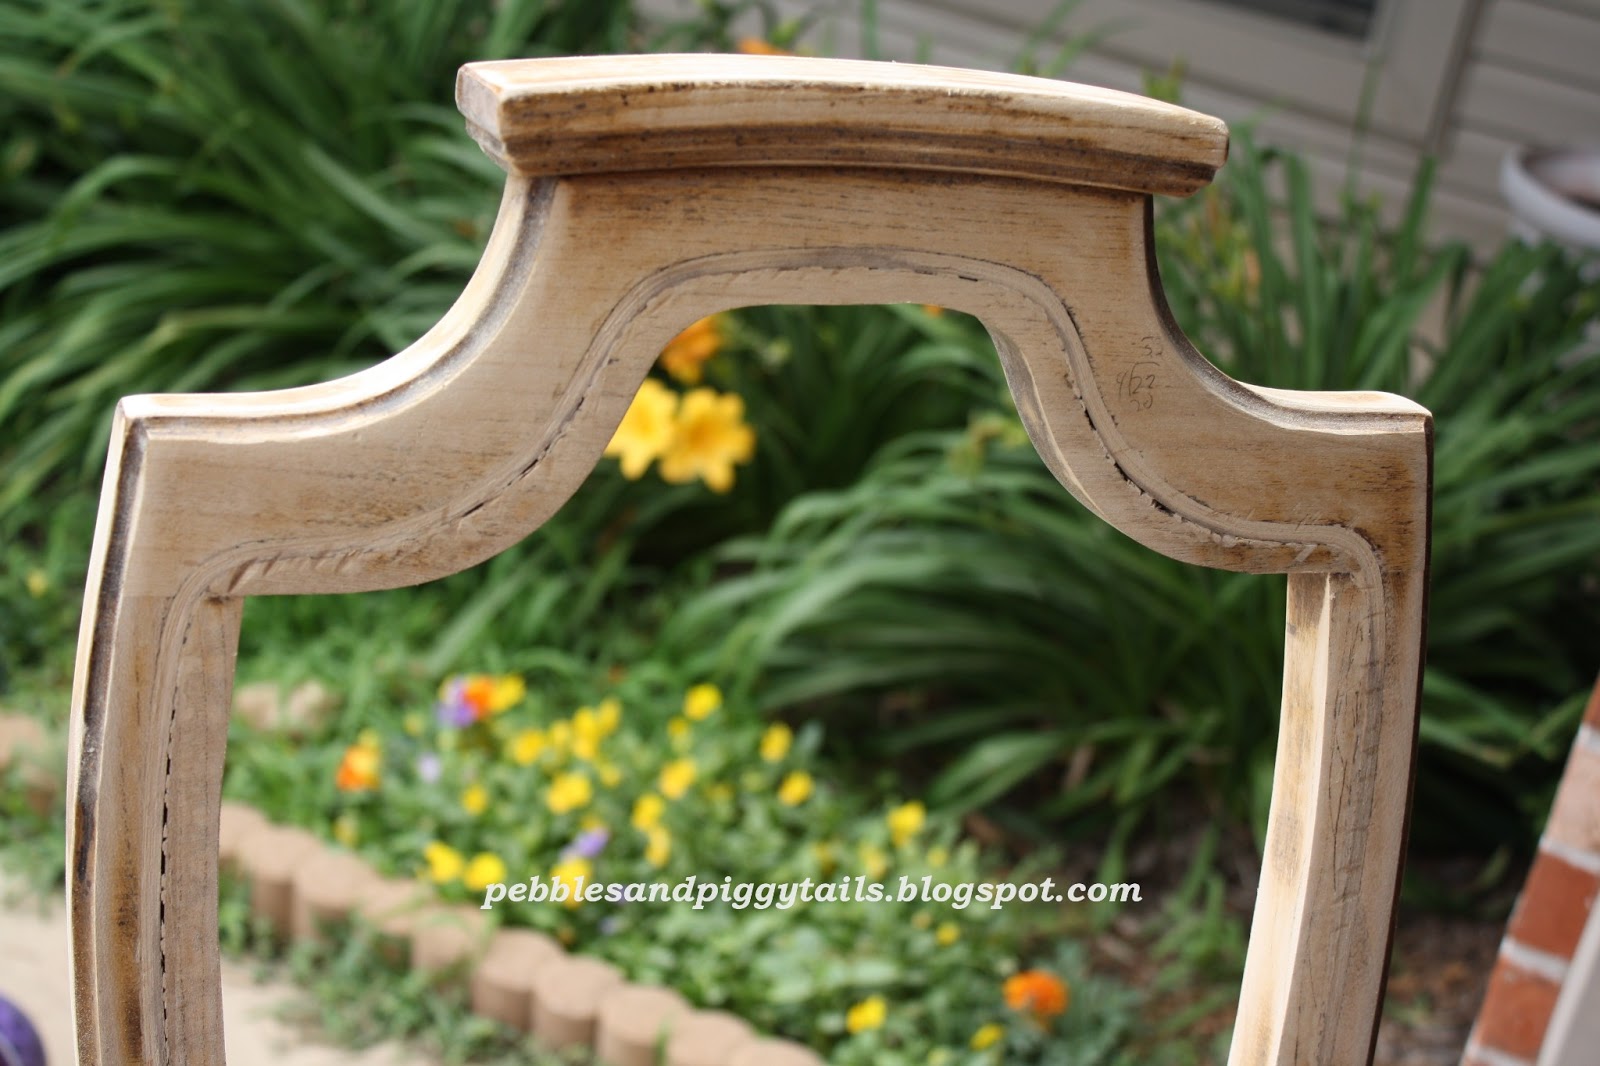
They are from the early 80’s and My Man and I inherited them from my grandparents back when we were newlyweds. They were sturdy and strong, but just very ugly.
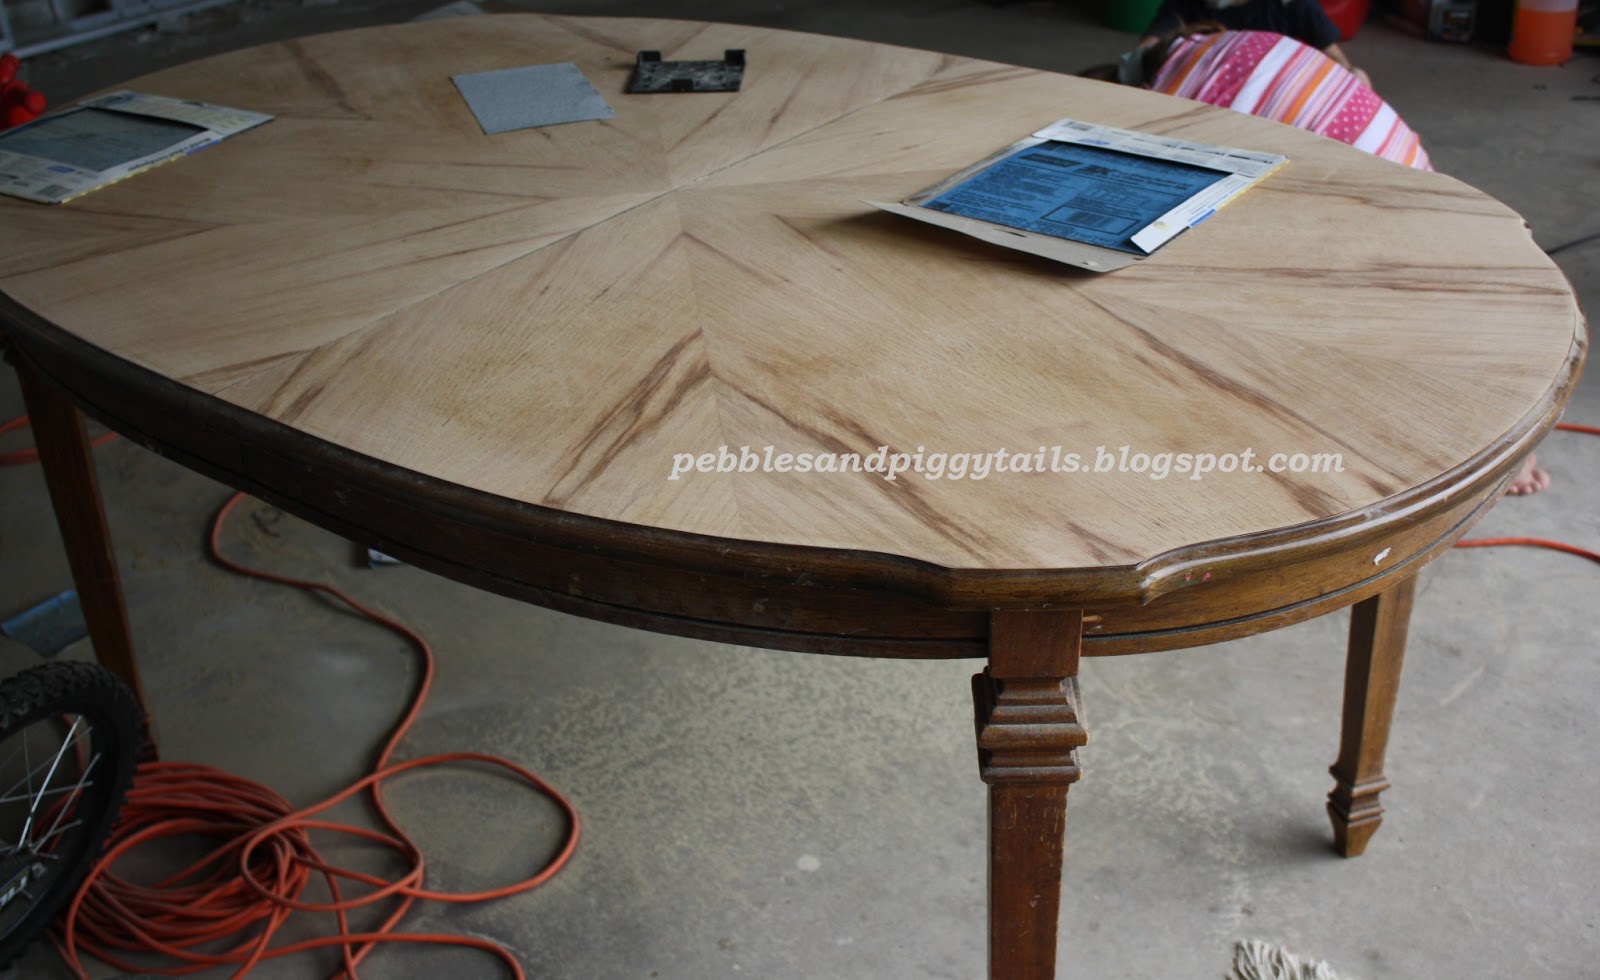
1. Cut out the back and sand away. We used electric sanders. We also sanded the table.
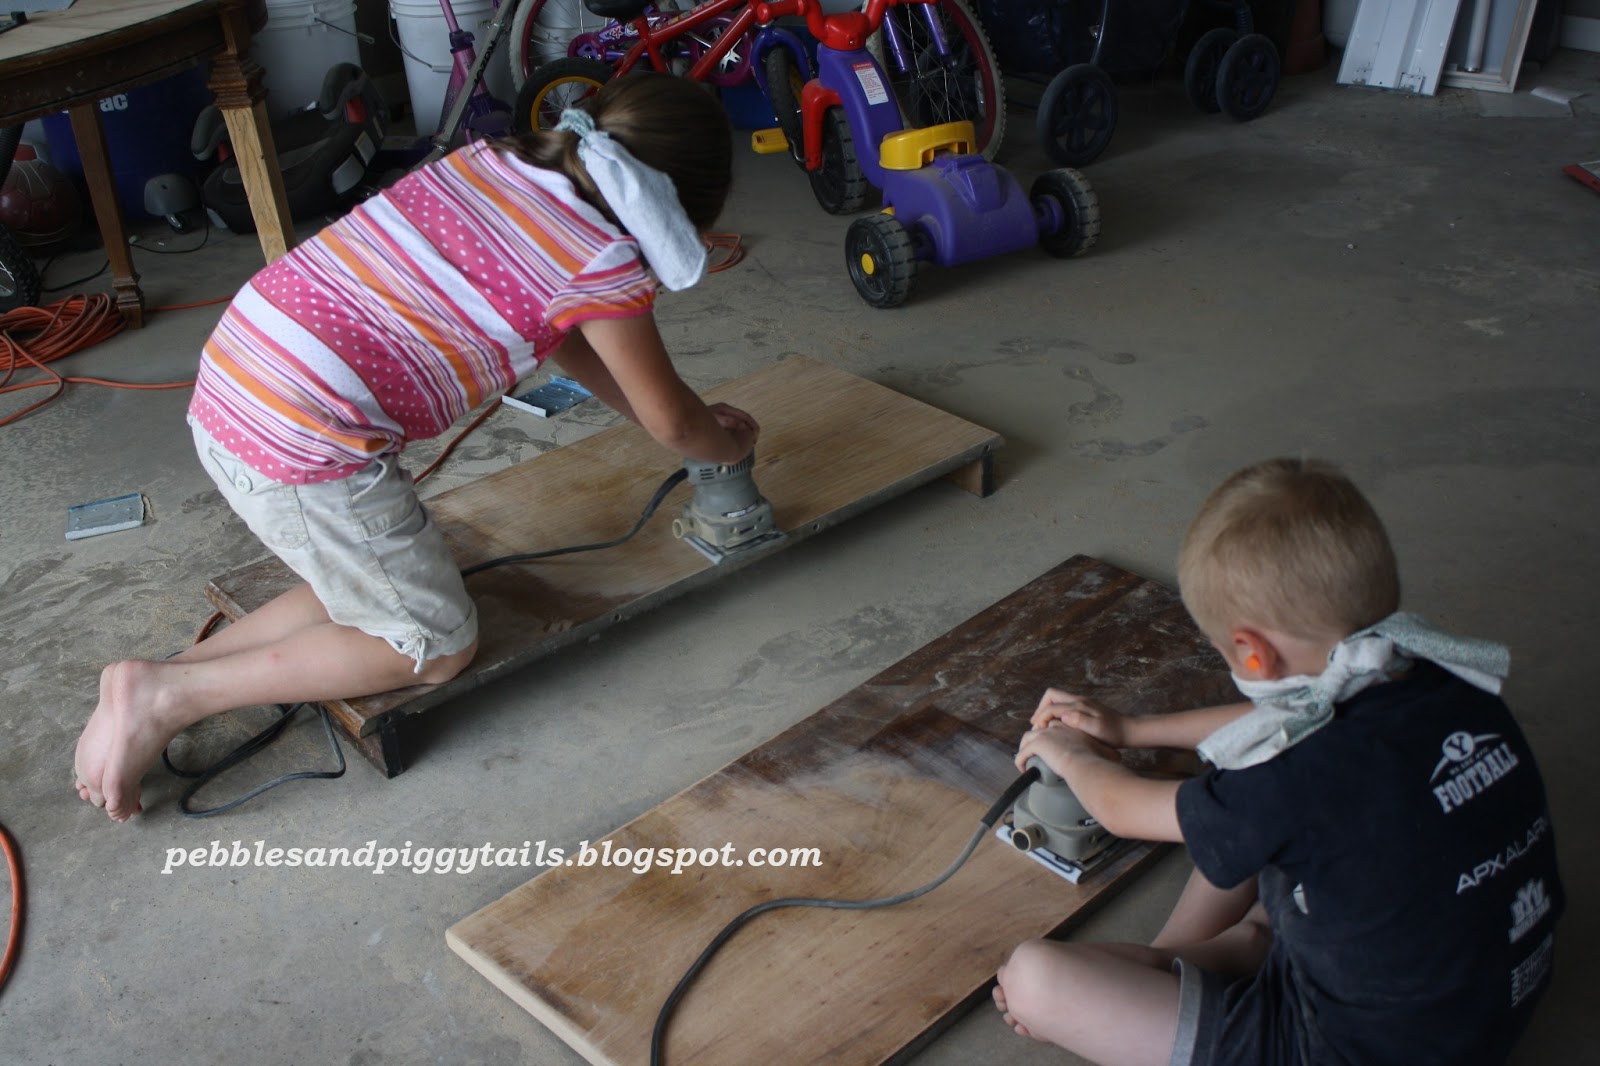
2. We got the kidlets involved. Free labor (just kidding–I believe in teaching your kids what you know, letting them help you so they can learn too). They were good at sanding (though they did sometimes whine about it). Make sure to give them earplugs and something to cover their faces.
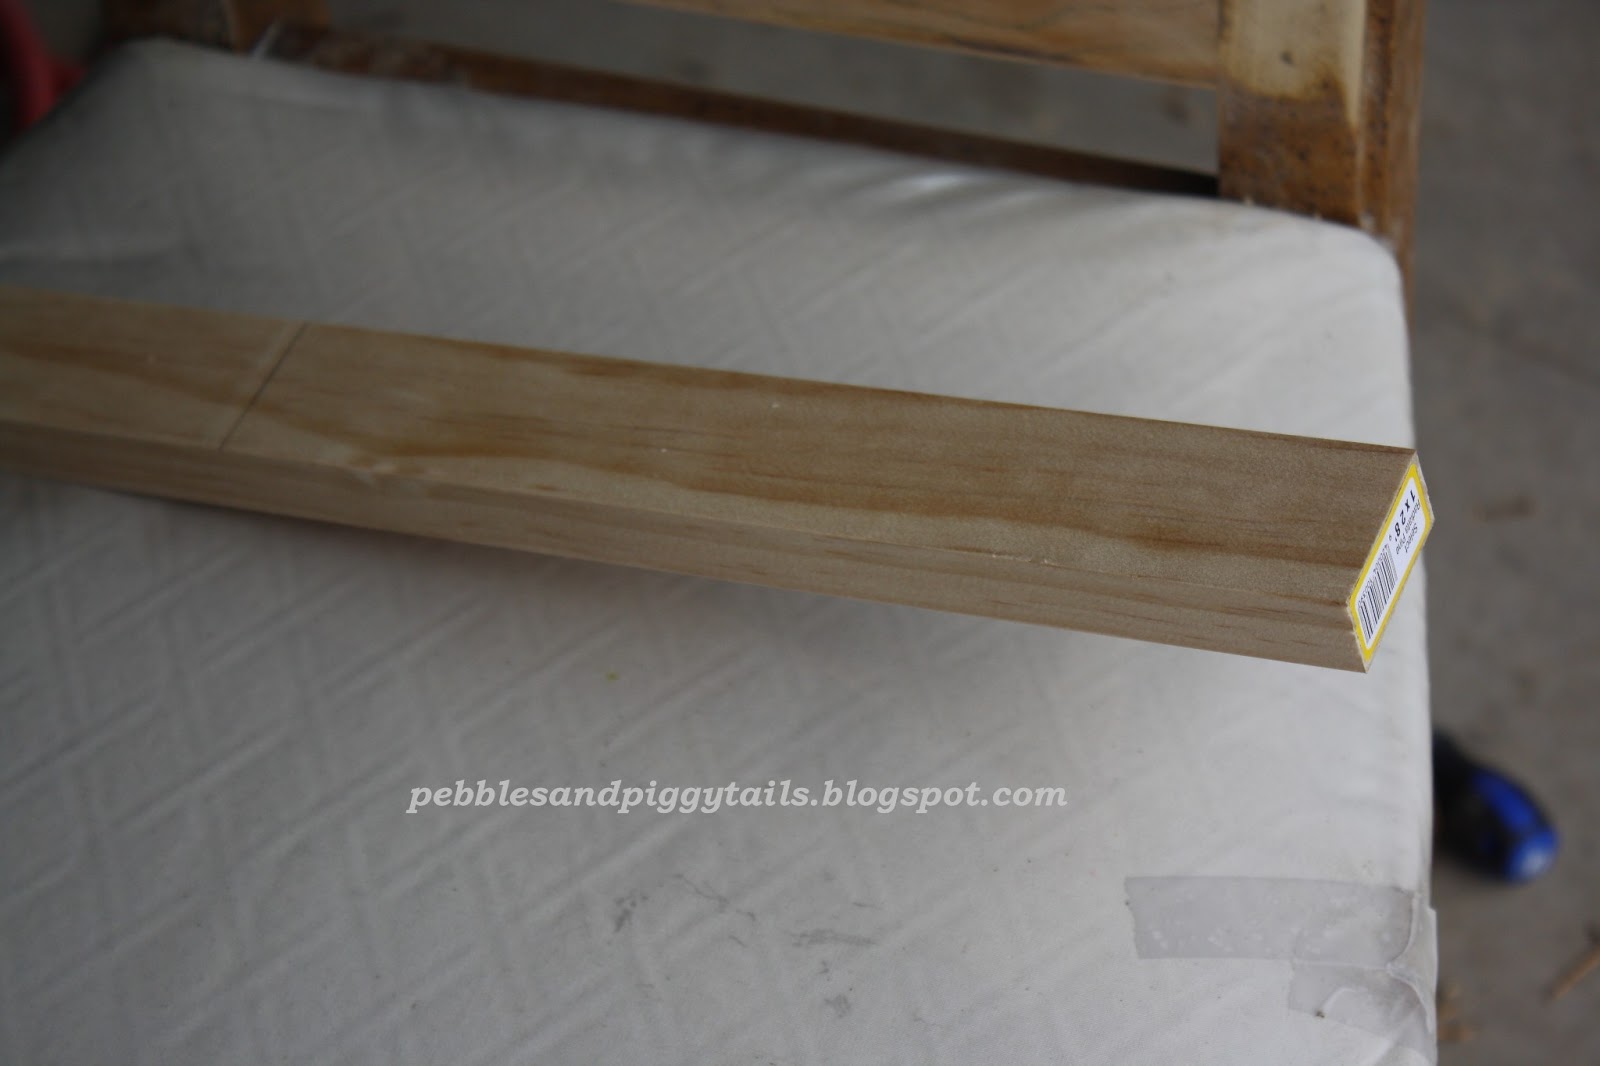
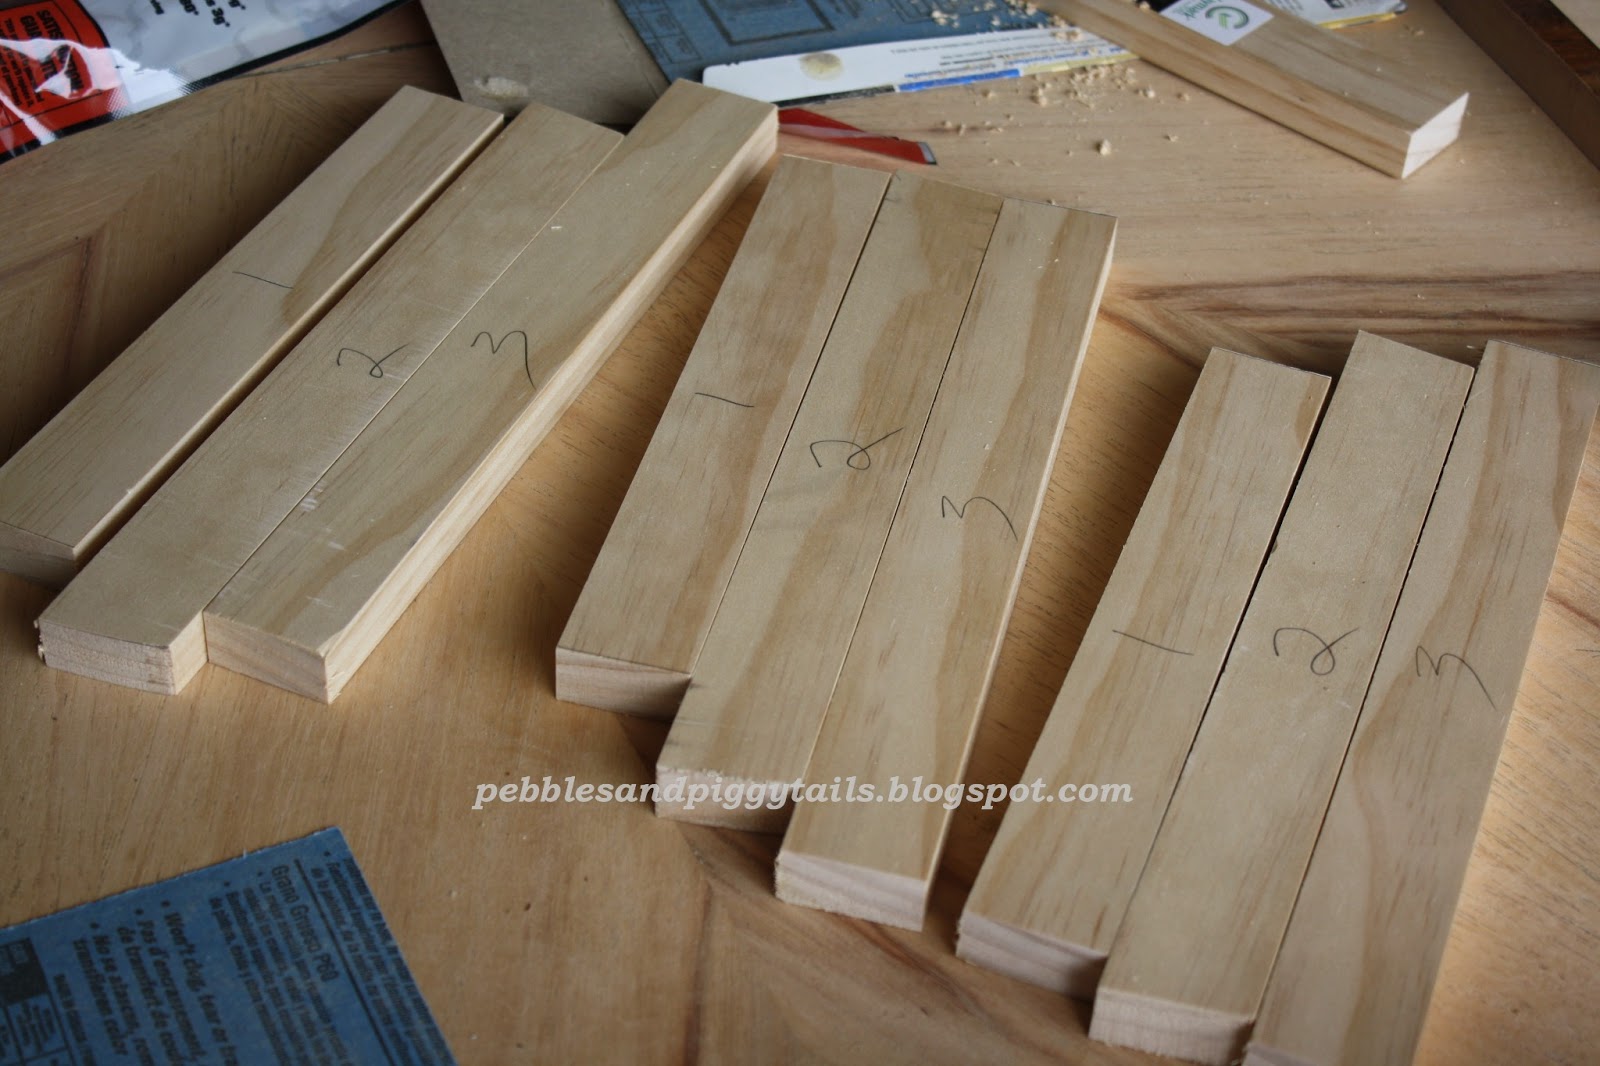
3. Wood from Home Depot. Measure 3 slats per chair and cut.

4. My Man drilled them into the chairs.
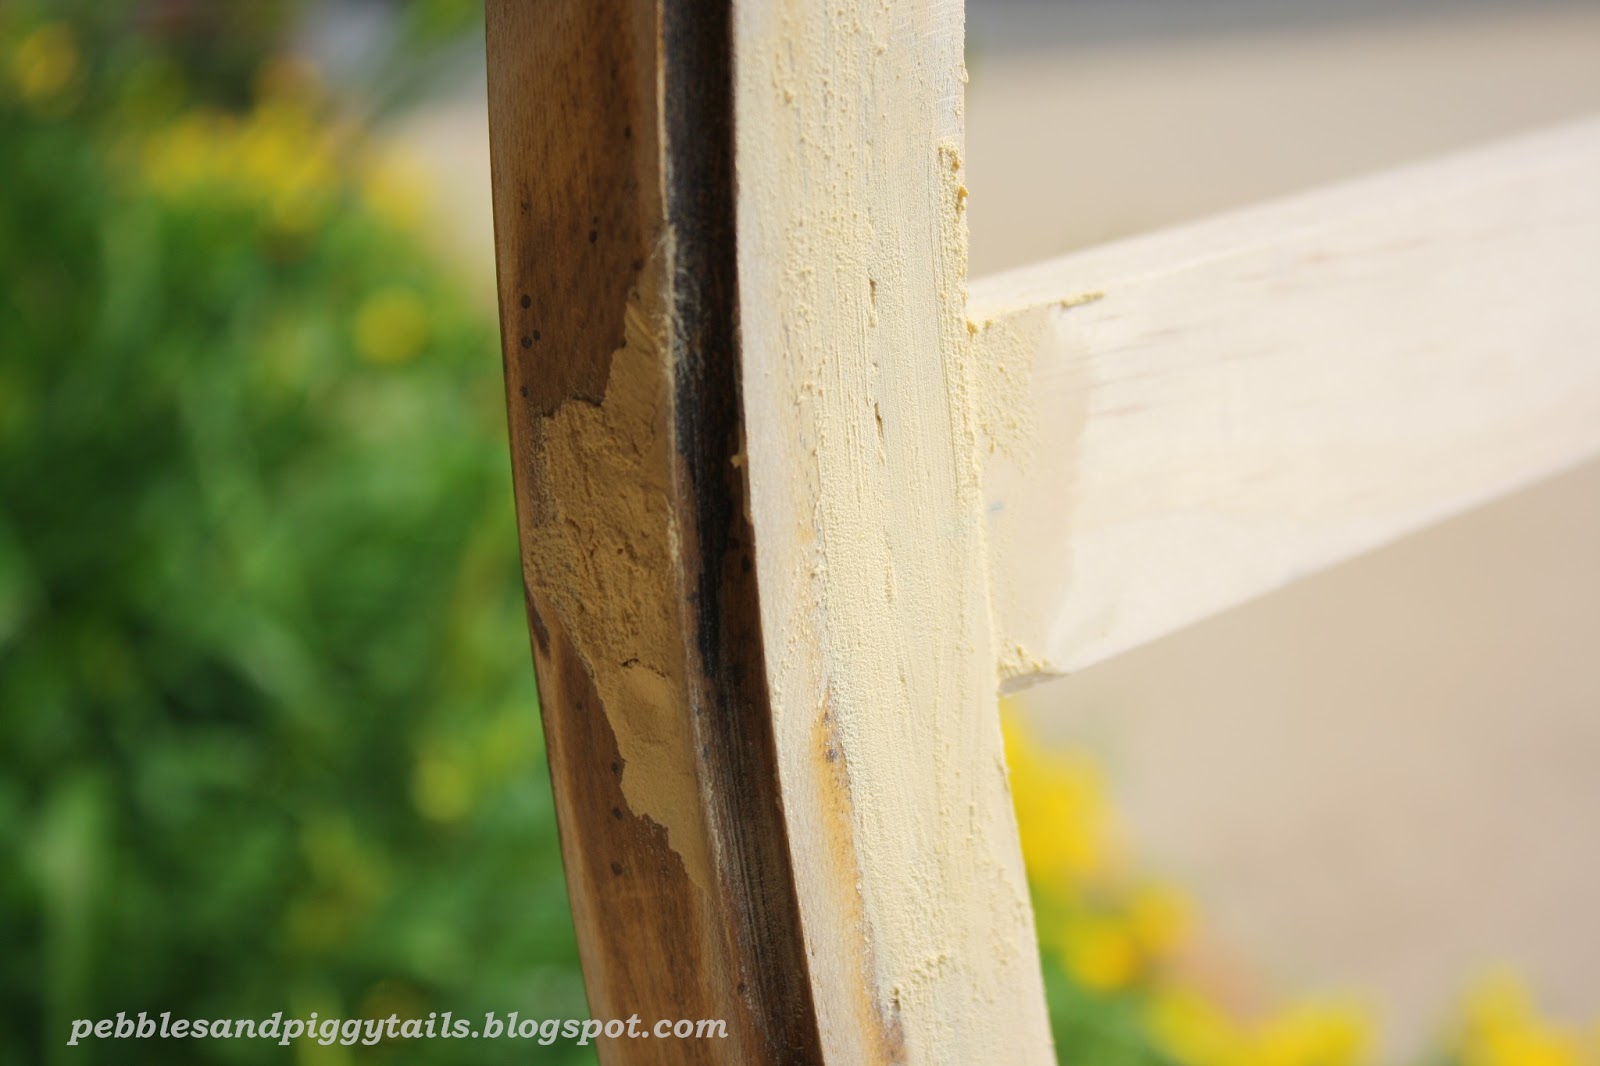
5. Cover the screws with putty
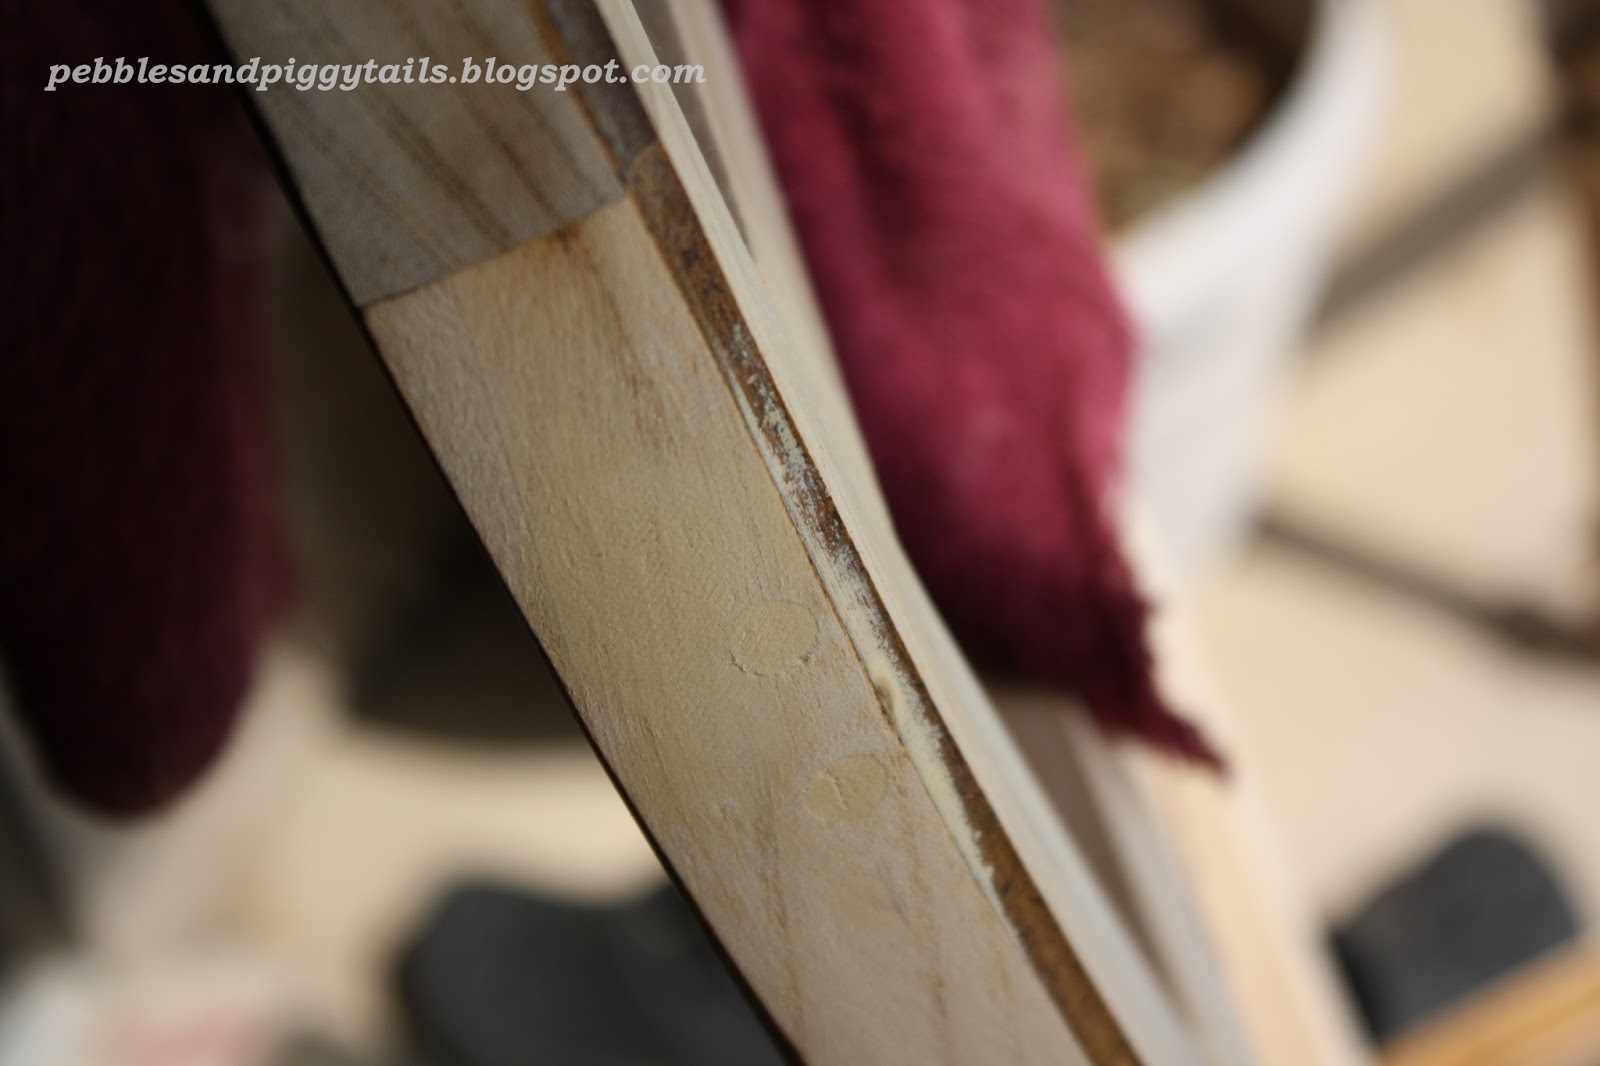
6. Sand the putty away so it’s nice and smooth again.


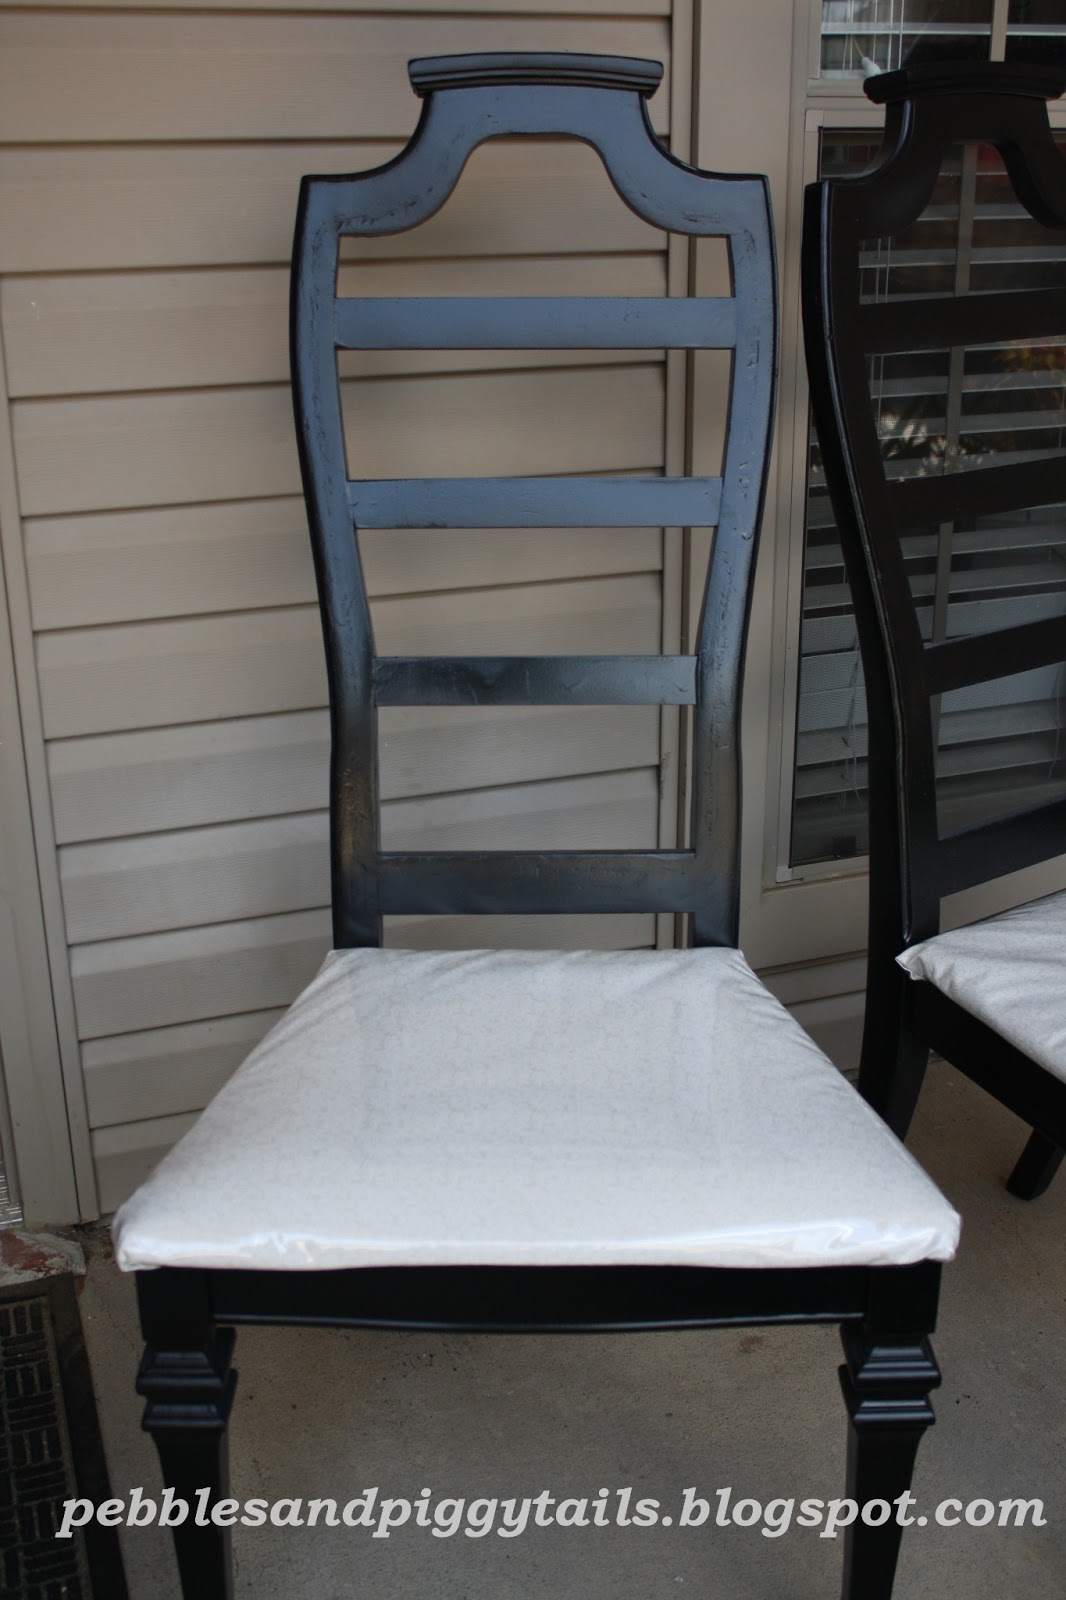
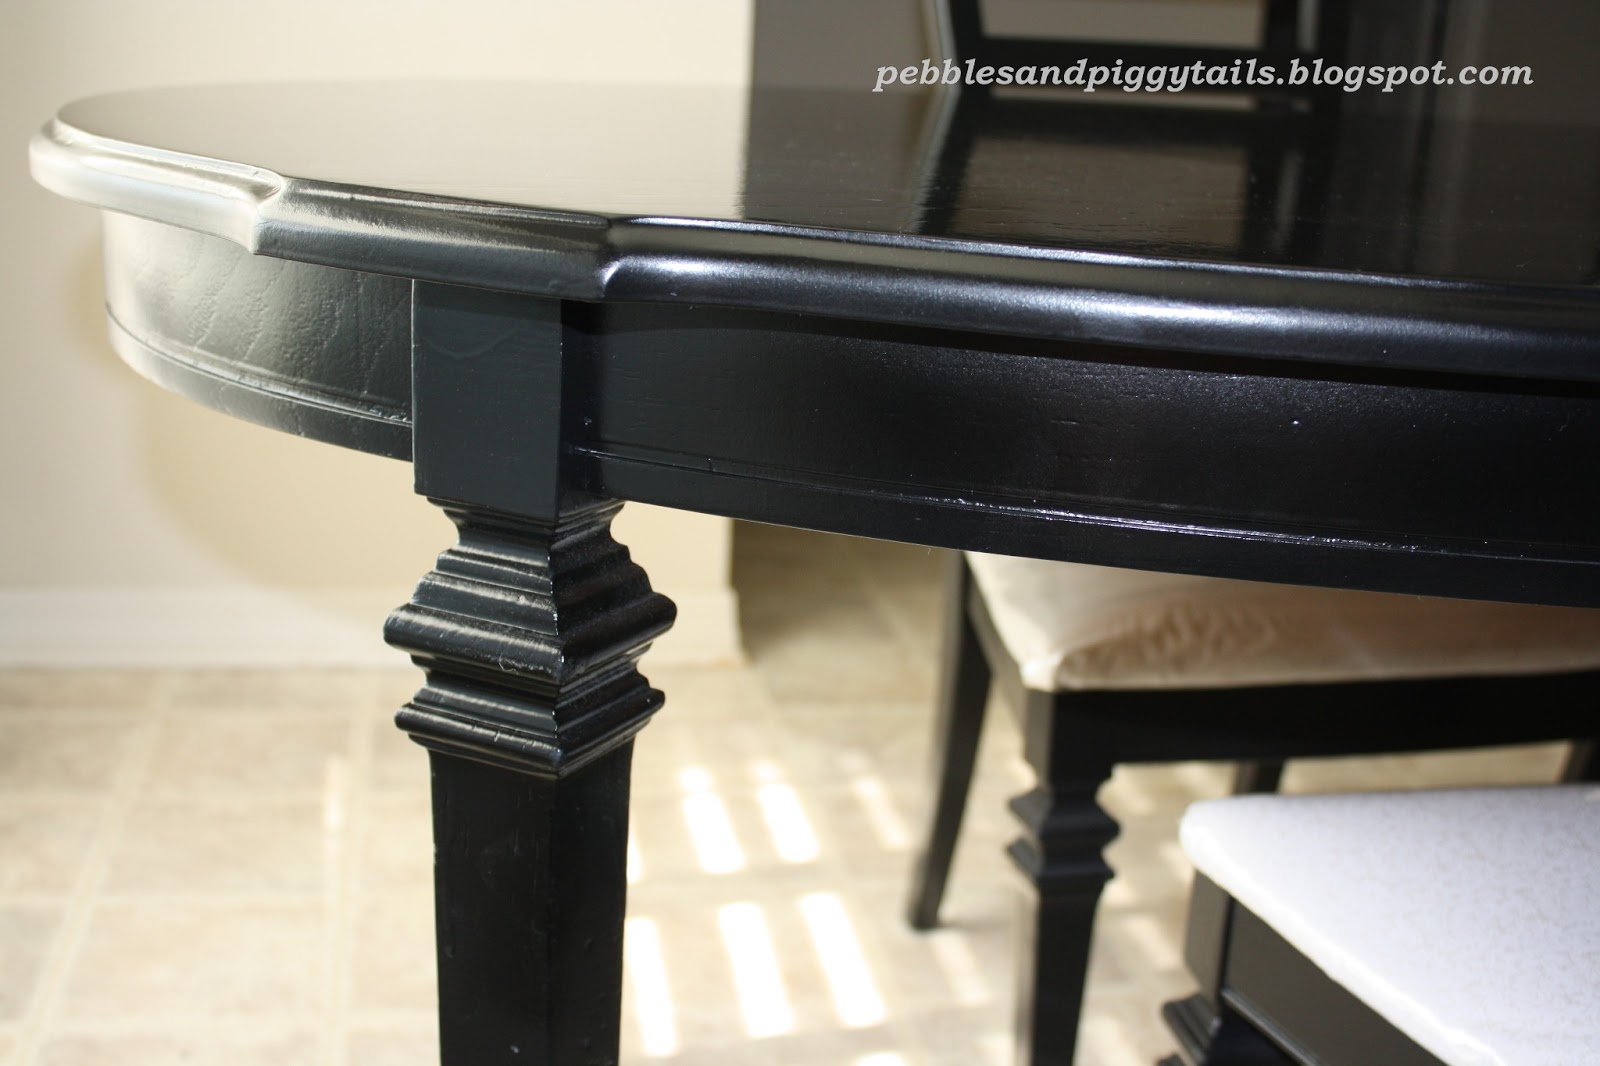
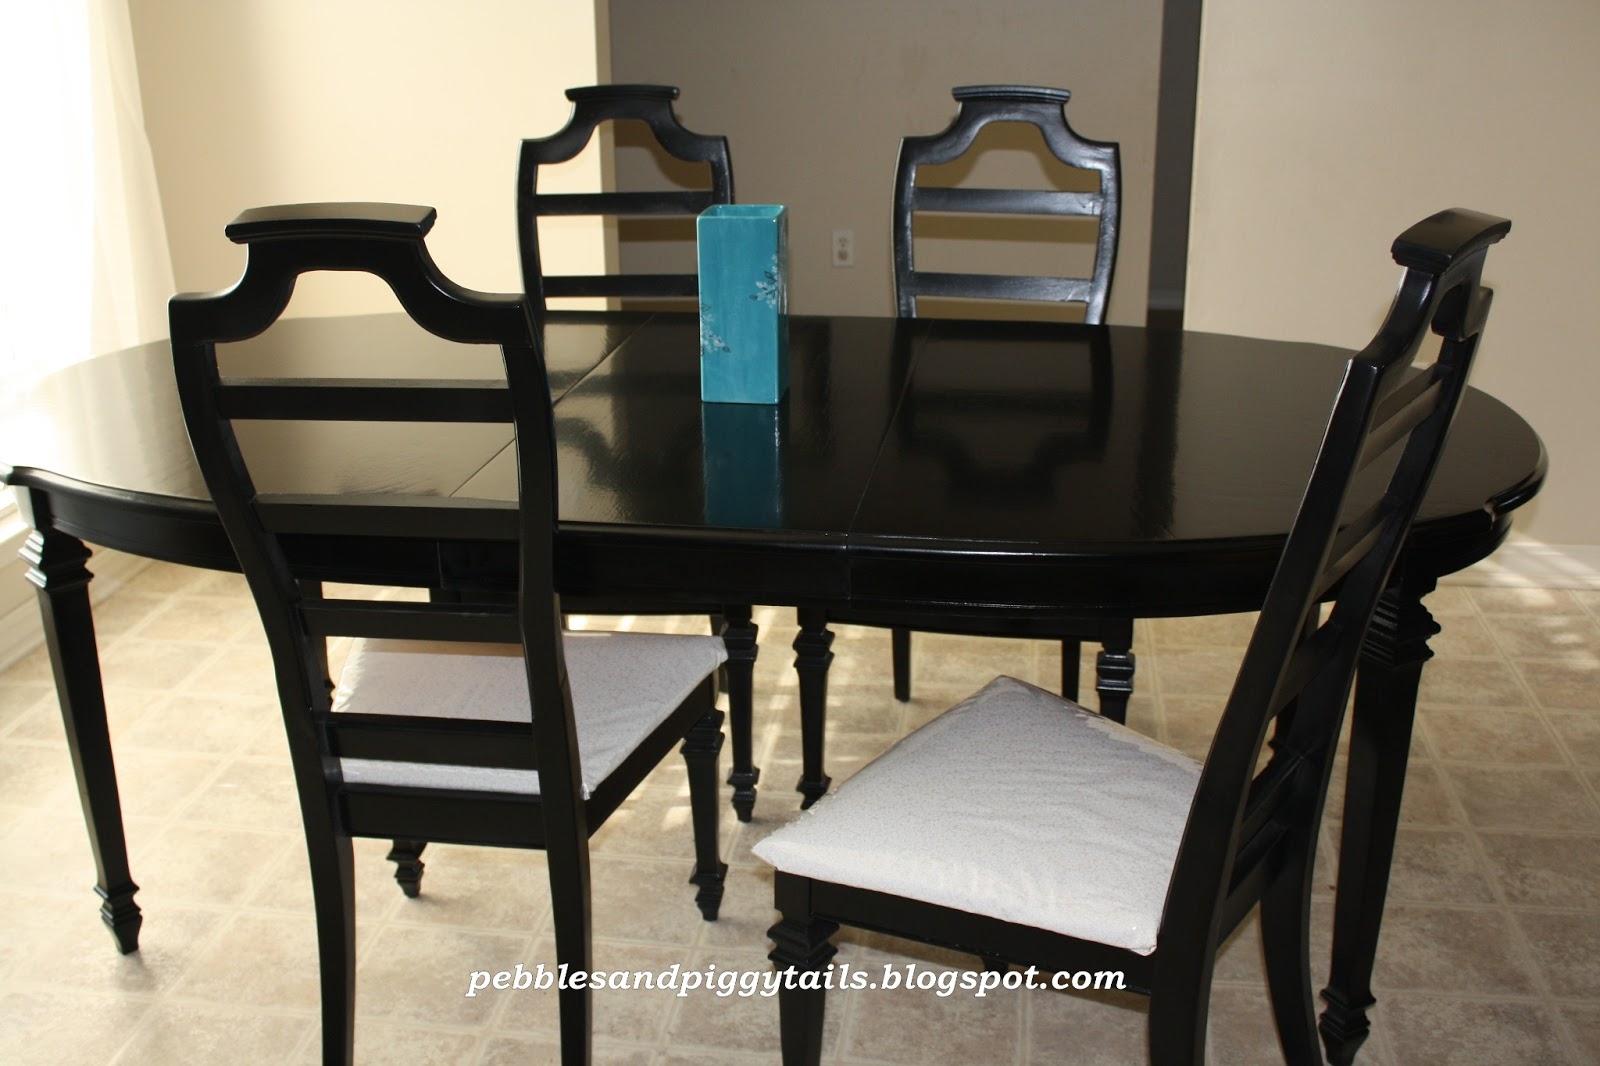
7. Painting. My Man used his air compressor paint tool. We turned our garage into a painting station. We used black semi gloss paint and then a lacquer on top from Sherwin Williams.
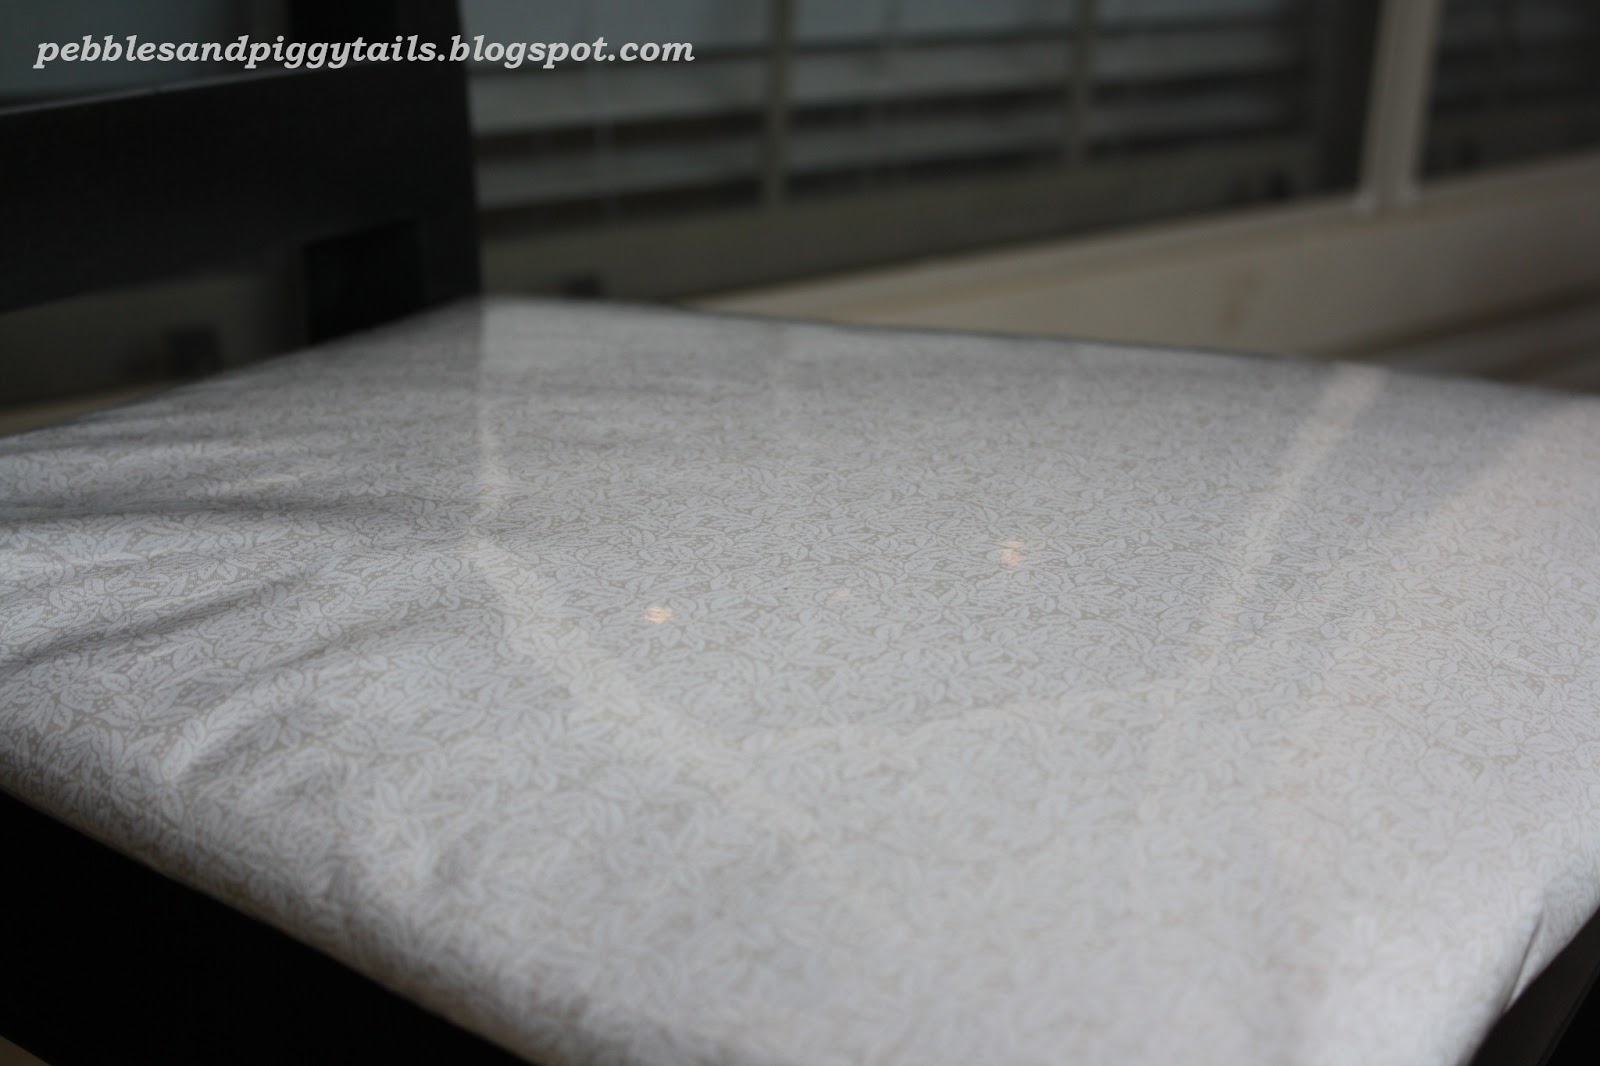
8. I recovered the seats with simple material and plastic (from Hobby Lobby) using a staple gun. I like the plastic since we use this table for EVERYTHING.
VOILA!
This project takes more than one day. It’s a good spring or summer project. Hope this inspires you to make something old look beautiful again.